
Facebook Forms are a great way to acquire and build your audience. Now, you can In this article you will learn how to connect your Facebook Account to Infobip, Create a Form, and give an offer to members who complete a Facebook Form.
Example implementations
- Give an offer for joining text offers.
- Give a free online offer for joining
Before You Start
Define Your Strategy
Whether you’re trying to increase sign ups, build your test
Create Your Facebook Form
When creating your Facebook Form, take into consideration the following Olo Loyalty member requirements when defining your fields to be collected
- A mobile phone number is the mininum requirement to create a Starter member.
Connect your Facebook Account
Connect your Facebook business account and define your processing rules in your Infobip environment.
- A successful connection will…
- show Lead Ads Facebook forms listed in the Infobip Form template builder.
- allow you to define your processing rules and field mappings so new Leads will be created in Infobip as soon as the Facebook form is submitted. You must establish a successful connection before setting your processing rules and field mappings.
Things to Know
- Both active or archived forms may be visible depending on the forms you have configured in Facebook. Archived forms cannot be selected for edits in Infobip. Ensure your forms are active before setting up integrations and mappings.
- Regularly check for any updates in both Infobip and Facebook integration settings to maintain a seamless connection.
- Continuously monitor the new leads created in Infobip to ensure that the data mapping and processing rules are functioning as expected.
Step 1: Connect Your Facebook Account
To integrate your Facebook business account with your Infobip environment and define your processing rules, follow these steps:
-
Log in your Infobip account and navigate to Exchange / All Apps.
Opens image in full screen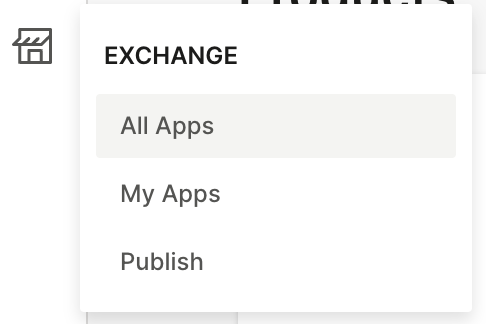
-
Search for Facebook Leads for People and click on the module.
Opens image in full screen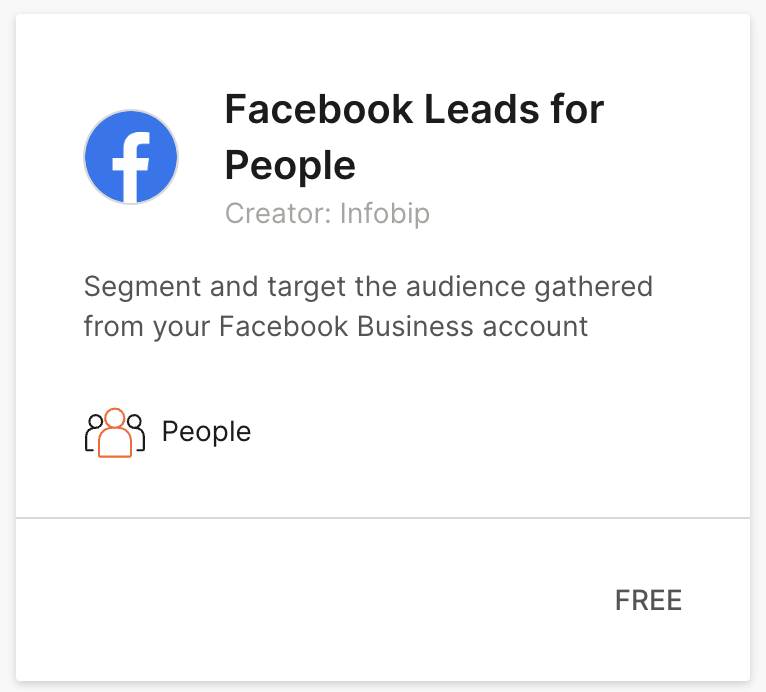
When you have not connected your app, the bottom status reads, “FREE”.
-
Click Add.
Opens image in full screen
-
Confirm you want to add the app by clicking Add App.
Opens image in full screen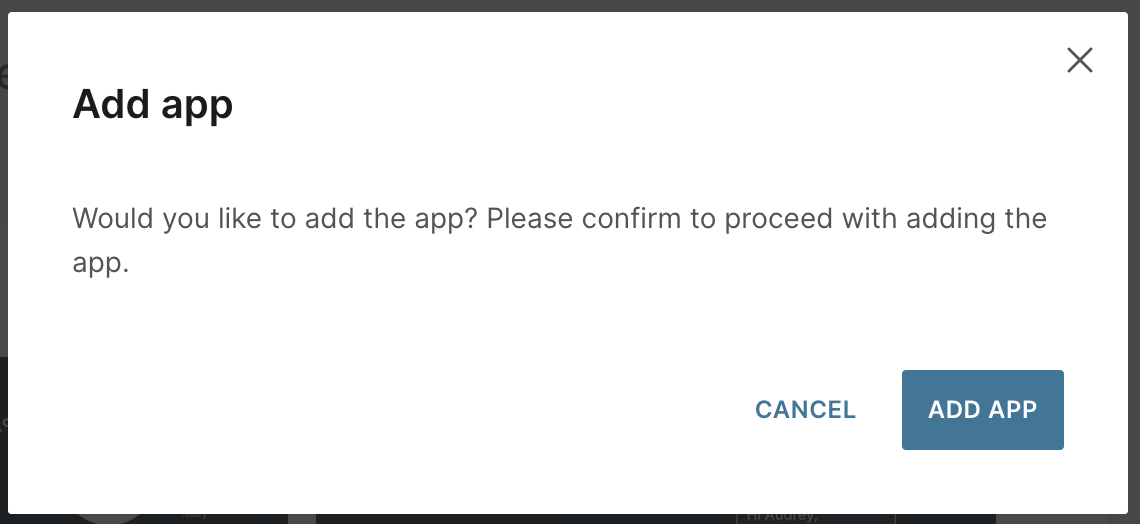
-
Click Connect Account.
Opens image in full screen
-
Click Connect With Facebook.
Opens image in full screen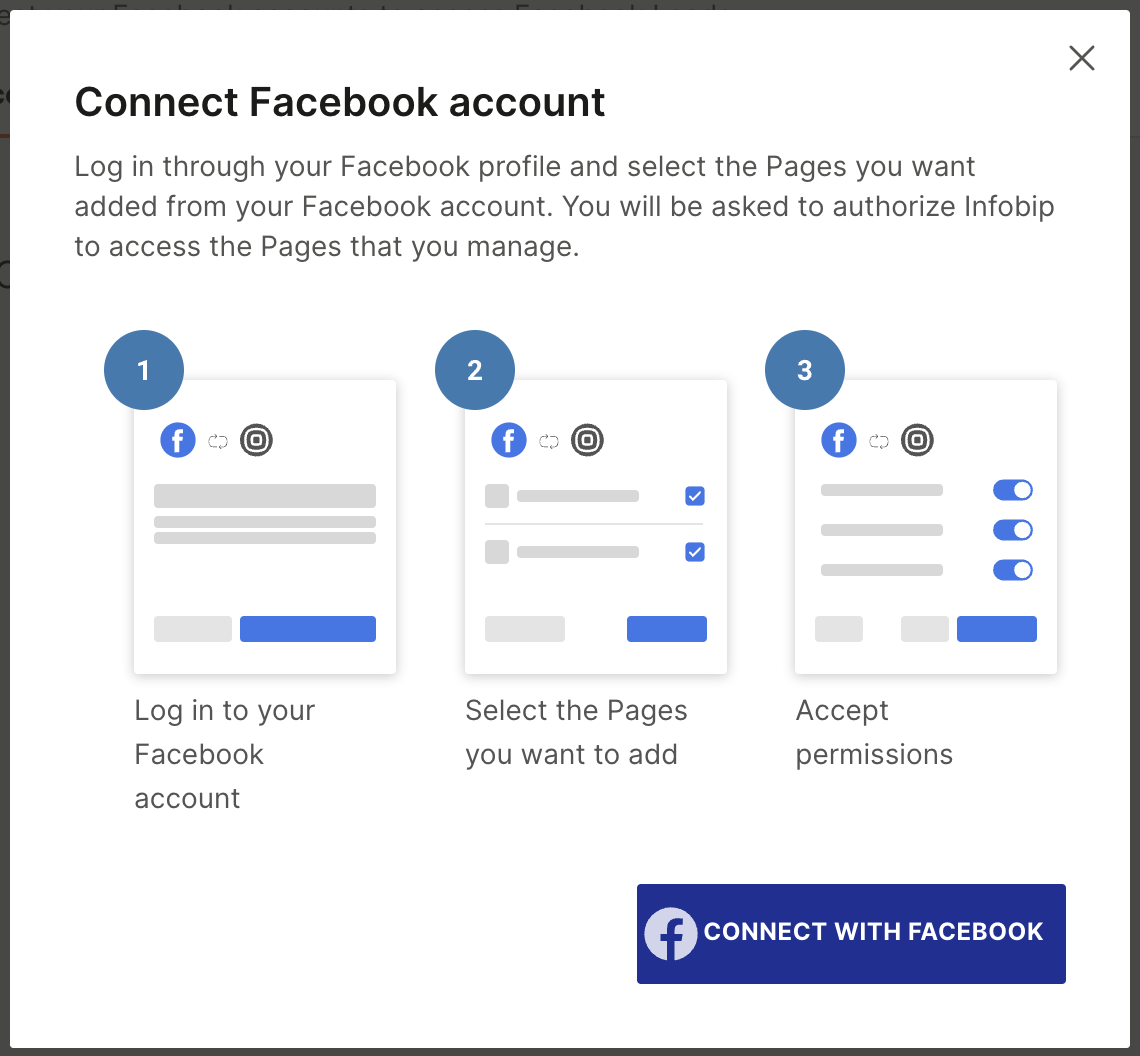
-
A Facebook window will open. Follow the onscreen instruction to login and configure the account connection.
Opens image in full screen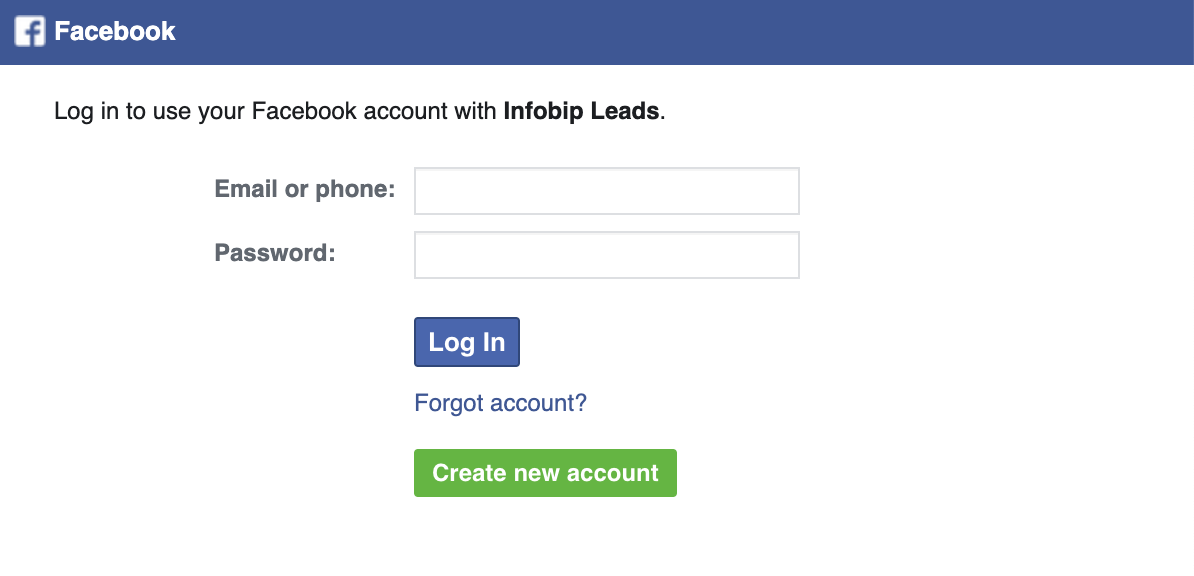
-
Once the connnection is established you will see a success message that your Facebook account has been connected to Infobip Forms.
Opens image in full screen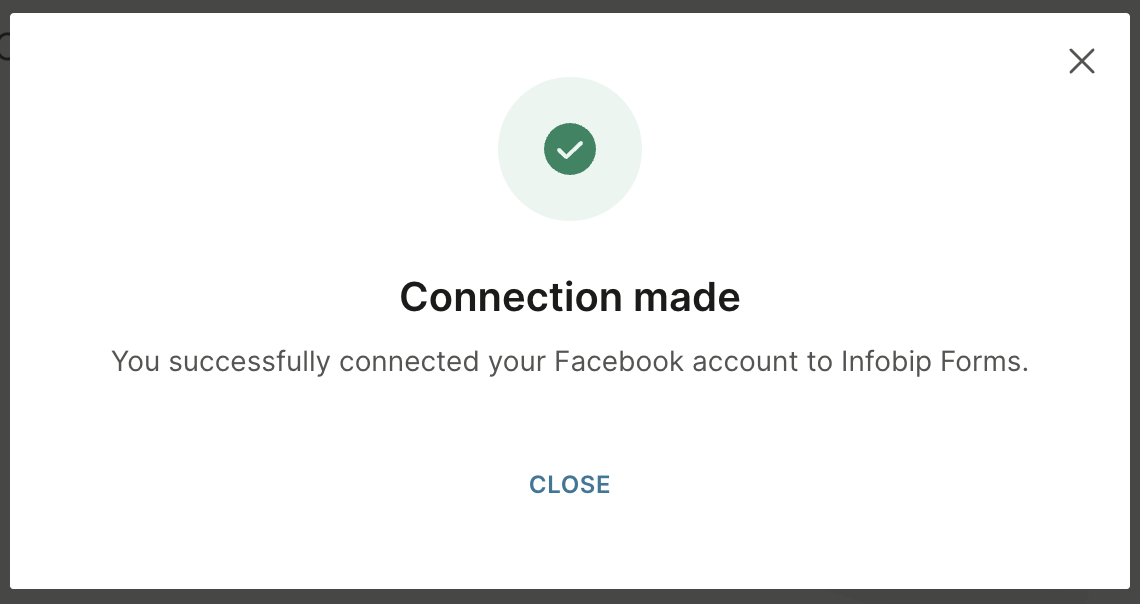
If you go to Exchange / My Apps you will also see the Facebook Leads for People module status is now Added.
Opens image in full screen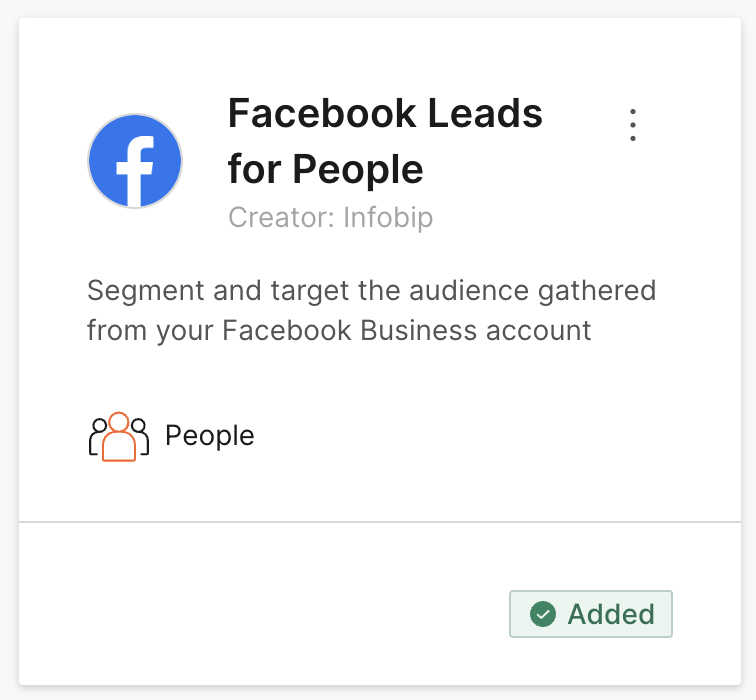
Step 2: Create New Facebook Form
-
In Infobip, go to Content / Forms.
Opens image in full screen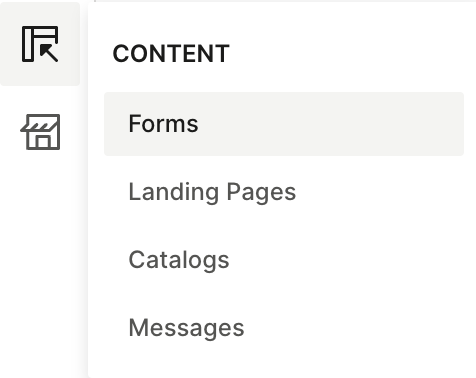
-
Click Create New / Facebook form.
Opens image in full screen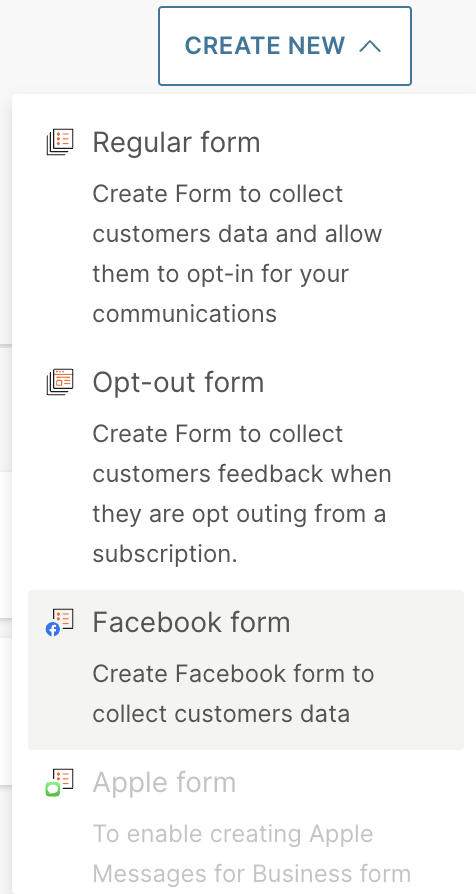
- Select the three dot menu on the existing form template and click Use Form.
- Map the fields from the Facebook form to the corresponding fields in Infobip. This ensures that the data from the form submissions are correctly transferred. If your field does not exist in Infobip, create the Custom Person Attribute and then return to form for mapping.
-
Enable Data Processing rule to Create or Update Persons.
Opens image in full screen
- Set the Lead and Customer Update to be one of the following options:
- Add only new information
- Override existing information
- Do not update existing persons
- Click Activate to launch your new form.
- Conduct a test submission to ensure that the data flows correctly from Facebook to Infobip.
Step 3: Create a Flow to Add Points/Offer on Form Submit
Use the following flow as an example on how to add points/offer to a member’s account on their Facebook Form submission. You may want to add additional steps based on your Form objectives.
-
In you Infobip portal, navigate to Moments / Communications.
Opens image in full screen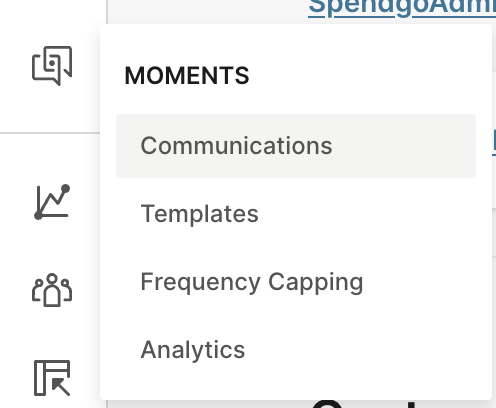
-
Click Create Flow button
Opens image in full screen
-
Choose + Start from Scratch.
Opens image in full screen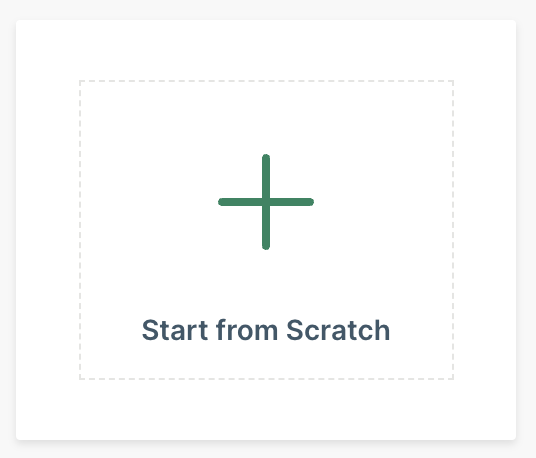
-
Choose Trigger as the way your audience will enter your flow.
Opens image in full screen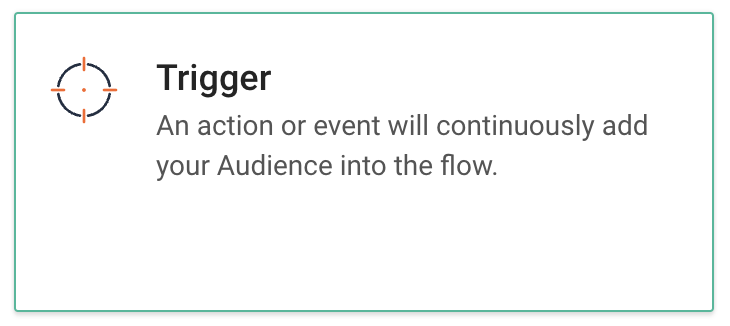
-
Choose your Trigger to be a People Real-Time Event.
Opens image in full screen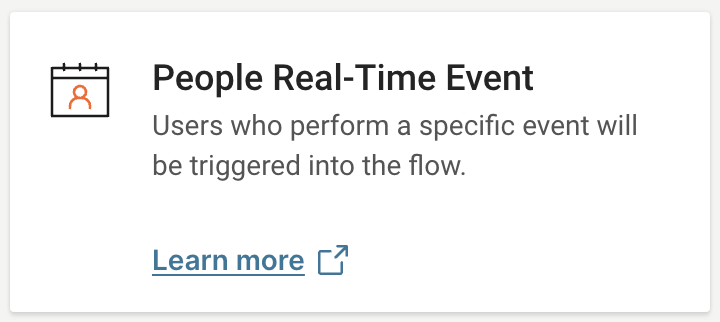
-
Define your People Real-Time Event Condition 1 to filter for when Form Submitted | happened | more or equal to | 1 times | any time
This looks for each time a member a form at any time.Opens image in full screen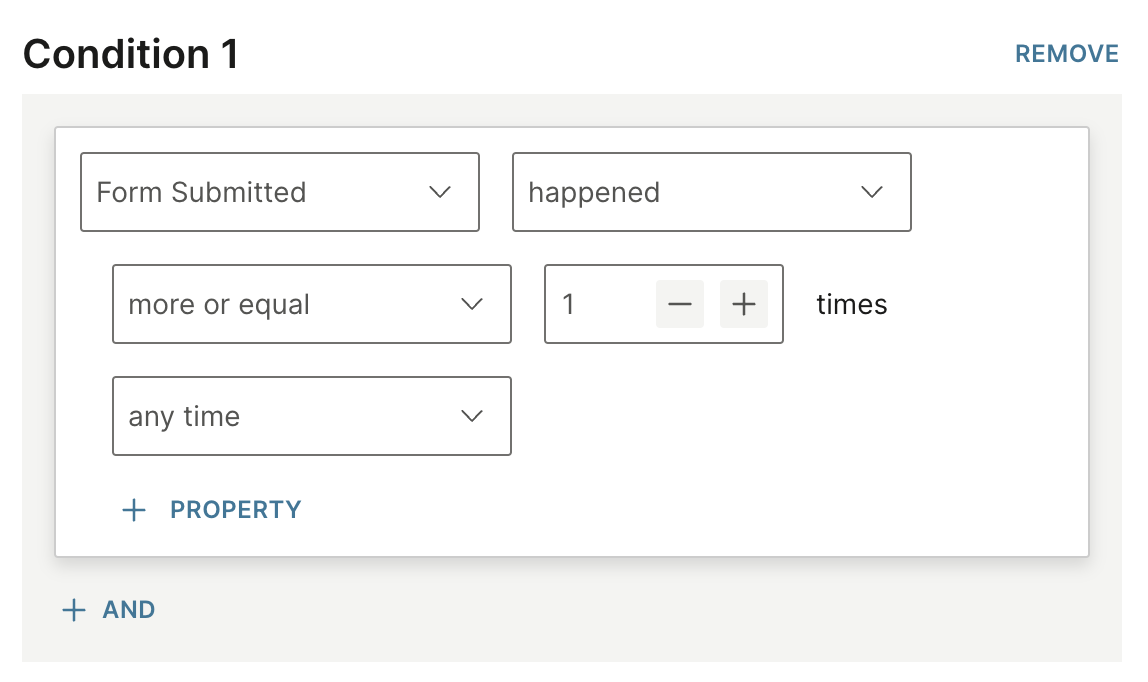
-
Add a + Property
Opens image in full screen
-
Select your specific Facebook Form. Form | is | Select your Form Name.
Opens image in full screen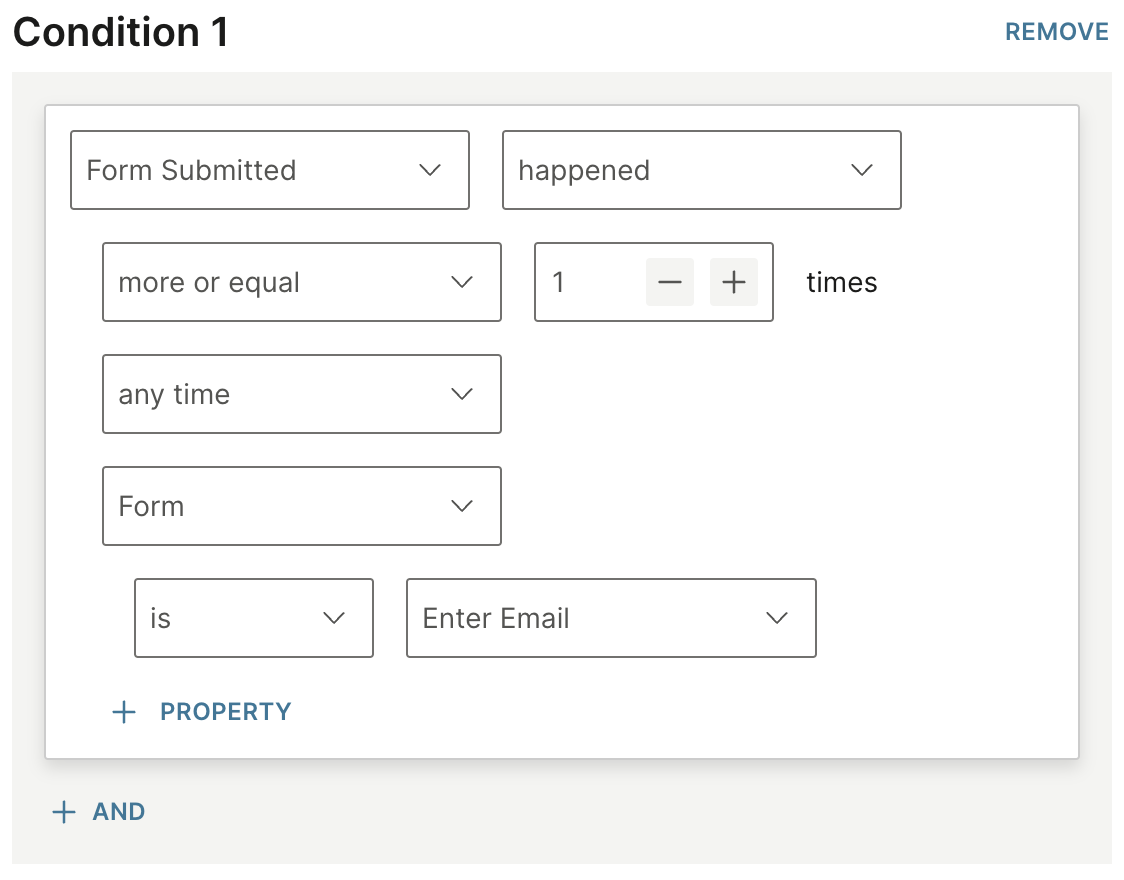
- Click Close to close the trigger settings.
-
Click the → right arrow to add an element.
Opens image in full screen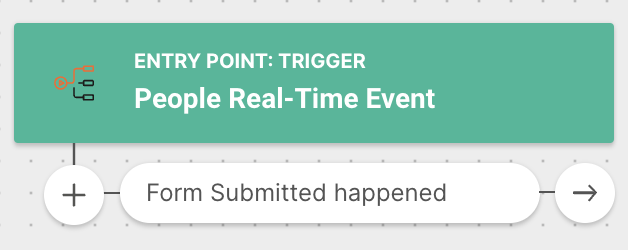
-
Select the Call API element.
Opens image in full screen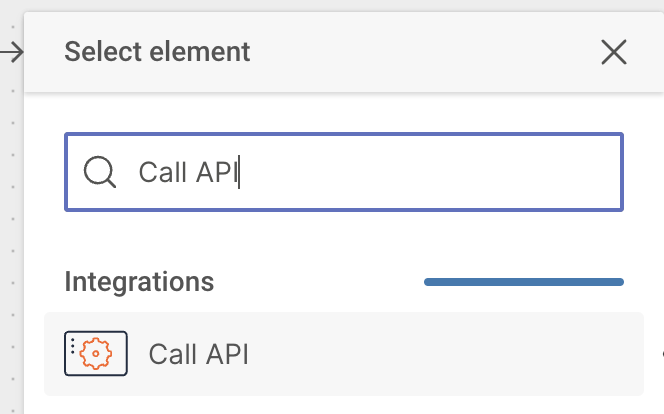
-
Enter in the Request URL input your url provided by Olo Loyalty.
The URL will be formatted like (your exact URL is provided by Olo Loyalty and must be kept secure and not be shared).
https://webservice.<env_name>.com/v2/loyalty/accounts/rewards?auth=<API_auth_key>Opens image in full screen
-
Enable escaping of URL parameters (by default this is checked).
Opens image in full screen
-
Choose the Method as Post.
Opens image in full screen
-
Choose the Body / Data Format as JSON.
Opens image in full screen
- Enter the JSON code in the input field…
-
To add points, copy paste the following code:
IMPORTANT: please replace the 50 value in the below sample,"balance_quantity" : 50with the point value you want to add to member’s accounts for entering the Flow.CODE{ "event_type": "add", "customers": [ { "phone": "+{msisdn}", "reason": "one-time", "category": "Campaign", "source": "Infobip Flow", "details": "Infobip Flow", "balance_quantity": 50 } ] } -
To add offers, copy paste the following code:
IMPORTANT: please replace the 16774 value in the below sample,"campaign_id" : "16774"with the Campaign Id you retrieved from the Olo Loyalty Dashboard.CODE{ "event_type": "add", "customers": [ { "phone": "+{msisdn}", "reason": "one-time", "category": "Campaign", "source": "Infobp Flow", "details": "Infobip Flow", "rewards": [ { "campaign_id": "16774", "type": "Offer", "quantity": 1 } ] } ] }
-
-
In the JSON code, highlight {msisdn} and click {} in the right corner to personalize with placeholders. Please note, the “+” prefix is required, do not remove.
Opens image in full screen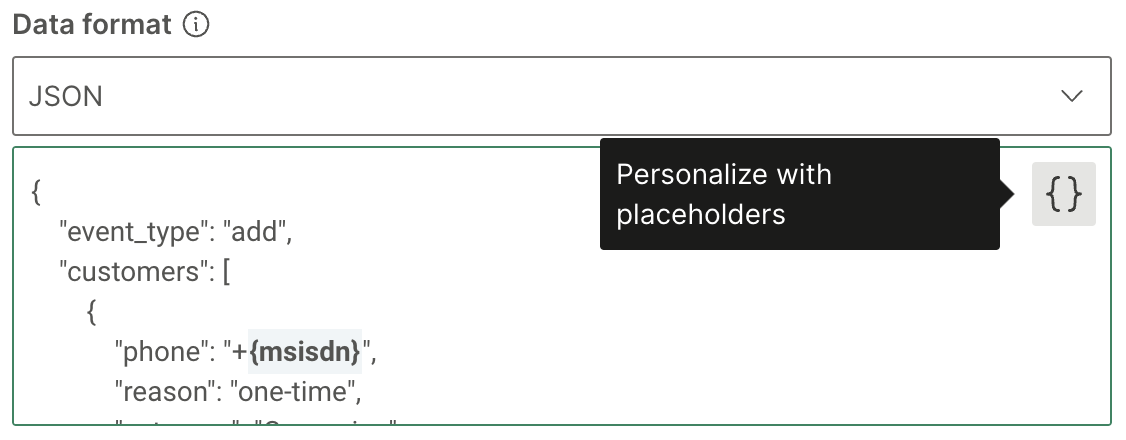
-
Search msisdn and select the attribute.
Opens image in full screen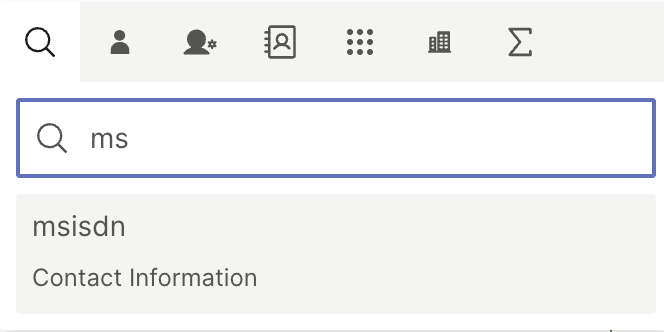
- The {msisdn} will change from a regular to bold font style. Click Close.
-
Name your Flow at the bottom of your screen.
Opens image in full screen
-
Click Flow Settings at bottom right of screen.
Opens image in full screen
-
Add Condition to the Entry Limitations.
Opens image in full screen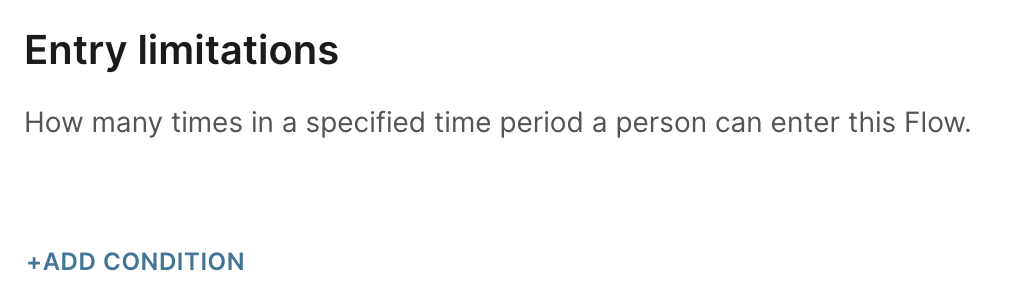
-
Enter your Entry Limitation Condition.
This limits how many times a person can submit a form and earn the offer/points.Opens image in full screen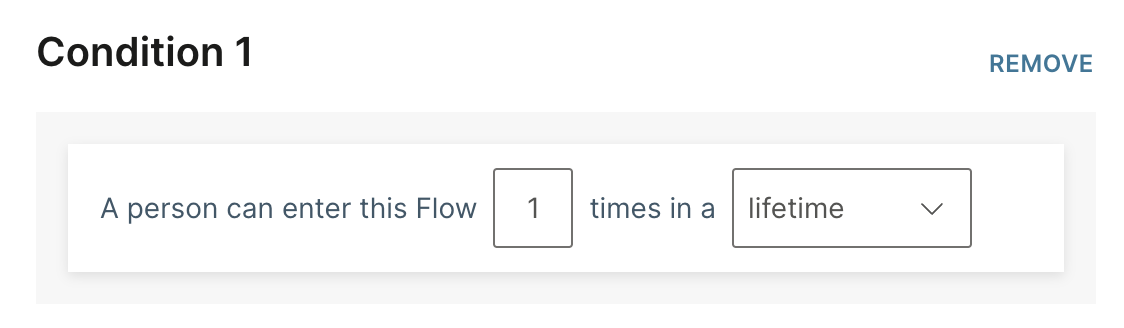
-
Click the Validate button.
Opens image in full screen
- Click the Launch Now button.
Comments
0 comments
Article is closed for comments.